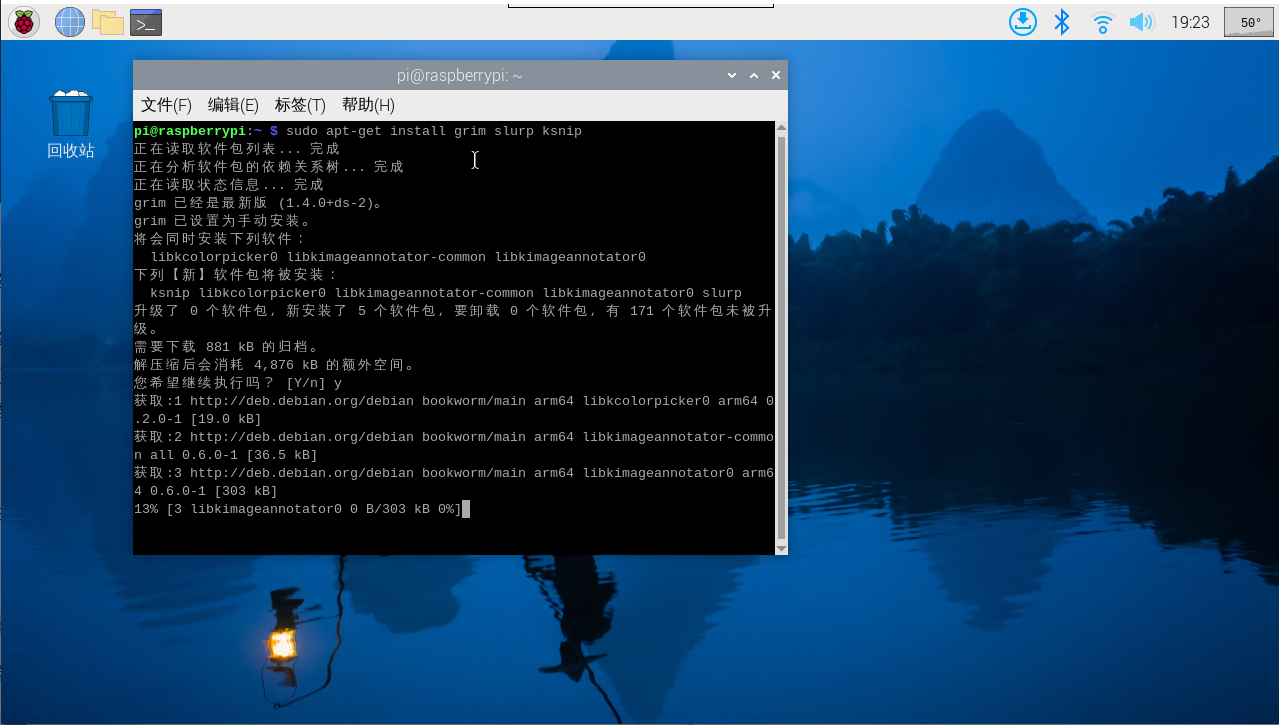
sudo apt-get install grim slurp ksnip直接输入命令安装软件,中途提示y/n,选择y继续即可。
#!/bin/sh
NOW=$(date +"%Y-%m-%d-%H%M%S")
grim -g "$(slurp)" -t png $HOME/Pictures/grim-$NOW.png
ksnip $HOME/Pictures/grim-$NOW.png
使用 slurp 这个命令,需要结合使用 grim 来进行截图,所以一般我们推荐使用 ksnip 来进行编辑。
grim -g "$(slurp)" -t png $HOME/Pictures/grim-$NOW.png
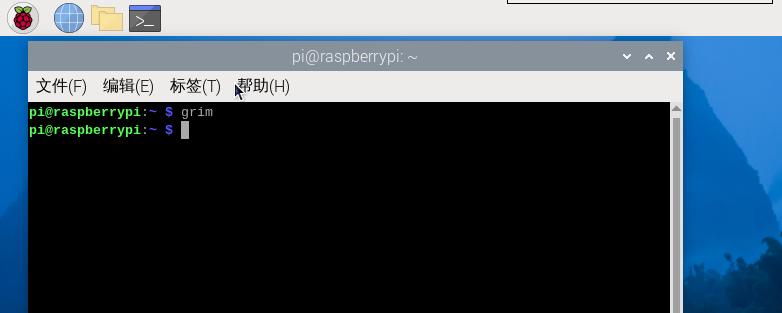
其他:当然你可以选择直接使用 grim 直接从命令行实现截图,截图会保存在 Picture 文件夹中,之后通过 ksnip 来进行编辑裁剪修改等操作。
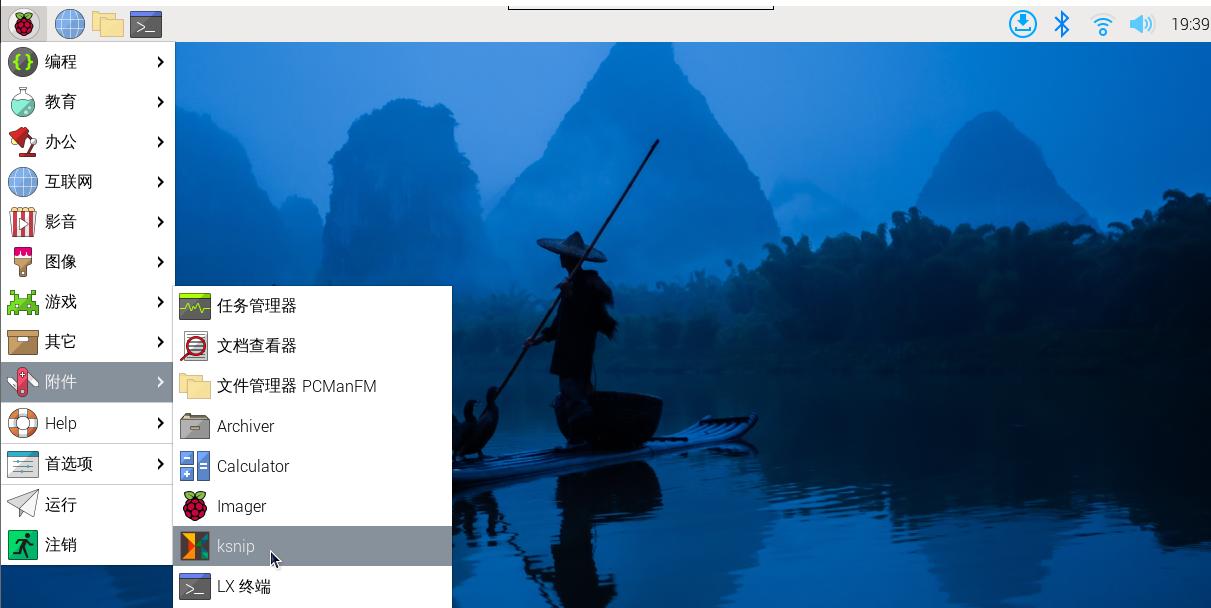
在主页的根目录里「附件」-「ksnip」。打开你想要进行编辑的图片即可进行编辑。